Skip to main content
Search
Search This Blog
Erika Mulvenna
sew to live: live to sew
GALLERY
Free Craft Projects
Free Quilt Projects
SEWING TIPS
EDUCATION
More…
Posts
Showing posts from November, 2010
Show all
November 29, 2010
A Slight Distraction (T-shirts, recycling and scarves - oh my!)
November 24, 2010
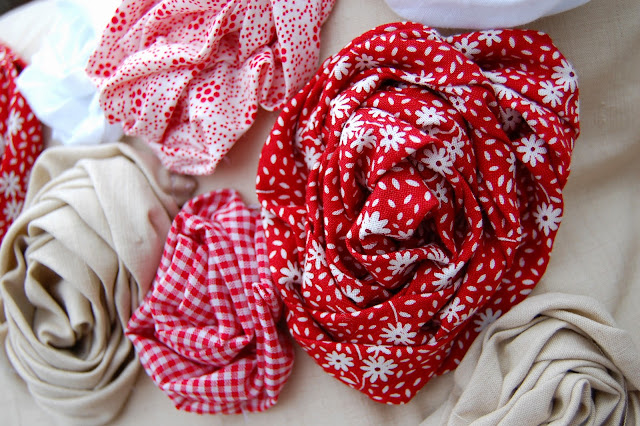
Flowers everywhere!
November 17, 2010
Creative Spaces
November 16, 2010
Guess Who's Quilting Now?
November 11, 2010
A Quickie
Newer Posts
Older Posts
Home