Straighten Up Your Sewing Space
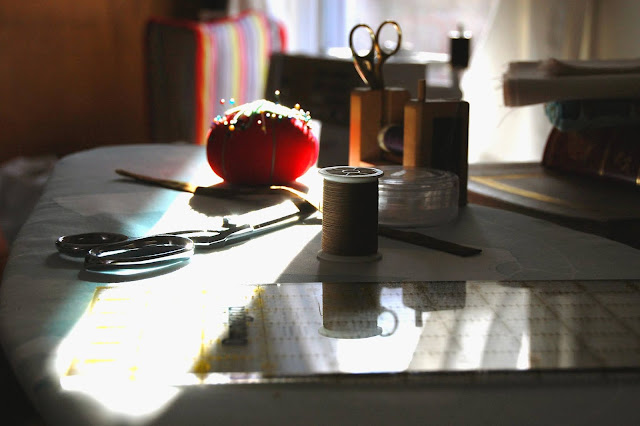
This is usually the time of year when I start spring cleaning, mostly because on sunny afternoons the light streaming through the windows makes it easy to see how dusty or dirty things are.
This includes my sewing space. I've already started cleaning out closets in the studio, and will eventually go through all drawers, boxes, bins, and shelves. It's a good opportunity for me to see if there's anything I no longer need and can let go of, or if there is a better way to keep things organized.
In fact, one of my favorite things is to look at other people's sewing spaces to see if there are any organization tips I can pick up. Some of my sewing friends and I shared a few of their best tips in this little blog post called "Clever Sewing Organization Tips" here if you'd like to check it out!
I've moved my studio three times in the past 15+ years, and each space called for different organization. My first studio was a small, skinny room. I used this space from 2005 - 2011. It was a challenge to fit all my junk in this room! I used shelves, bins, and pegboard to help keep things neat and tidy.

One thing I discovered back in those days that I still use is these clear shoe drawers from The Container Store. They stack easily, are crystal clear to see what's inside, and the drawer is easy to remove. Notions like zips, pins, ric-rac, ribbons, and elastic fit easily into these organizers.
I still use these same drawers today. I used a few magnet boards on the wall for inspiration and ephemera.
My second sewing space was in the basement of our current home. The biggest challenge to staying organized in this space was the lack of natural light, and having to work around pillars, stacks, and HVAC equipment. I used this space from 2011 - 2017.
This space did allow me a little more room to spread out, and I was able to have more machines set up for sewing.
Though the space was larger, the dark and dank nature of the basement made it difficult for me to want to use it outside of the few afternoon hours where sunlight made the space bright.
Still, there were some tried and true methods that I continued to use to stay organized, like using pegboard near the cutting table and as many bookshelves as I could get in the space.
I was able to move into my current space in 2017 after we remodeled the second floor.
This is what it looked like when I first moved in. The overall layout hasn't changed much in the past 4 years, but some of the details have changed.
My main sewing table is located in the middle of the room at a right angle to the wall. This set up isn't for everyone, but I prefer the open feel of sewing in the center of the room rather than sewing up against a wall.
On the shelves of the cutting table are those same clear bins holding all kinds of notions and sewing junk. I use the three drawers in the cutting table to store scissors, rotary cutters, and small rulers.
My absolute favorite part of this room is the design wall/sitting area, AKA "the sewing lounge."
It's the perfect place for the design wall in the room. I can see the design wall from every well-used place in the room, and it's also a great place for a tea break or to read a book.
I also had help from my hubs in hanging a small bit of clothesline on the wall next to my sewing table. It's a fun way to display inspiration and stuff.
Looking back at all my sewing spaces, here's my best tips to keep organized in your sewing space.
- Organize items in a place that's the easiest to get to when you need them; cutting tools by the cutting area, pressing tools by the ironing board, sewing machine tools within easy reach of the sewing machine.
- Have a place to display things that inspire you so you can see them when you're working. Favorite swatches of fabrics, pictures, postcards, or color wheels won't inspire you if you can't see them.
- Keep an eye out for how other people organize, and stay open to trying new ways of organizing.
- If you find something that works well for you, keep it going!
What are some of your best tips to stay organized where you sew? 😉


Comments
I guess my biggest organizing tip, and one that I struggle with, is - don't set things down "for now" or wait to put away bits and pieces after finishing a project. It's far too easy to let them pile up and turn a minor task that takes a few minutes into something that can easily take an hour or even an entire day.
All of your sewing spaces look very useful. Thanks!
Thanks for sharing Erika!
My email- jimenez.renee@ymail.com
I apologize in advance if I’m posting on the wrong site. Is there a website i can go to and post questions? If you could please send a reply to my email with instructions on what i should do.
Your support is most appreciated. God bless you.
Renèe